Name the construction
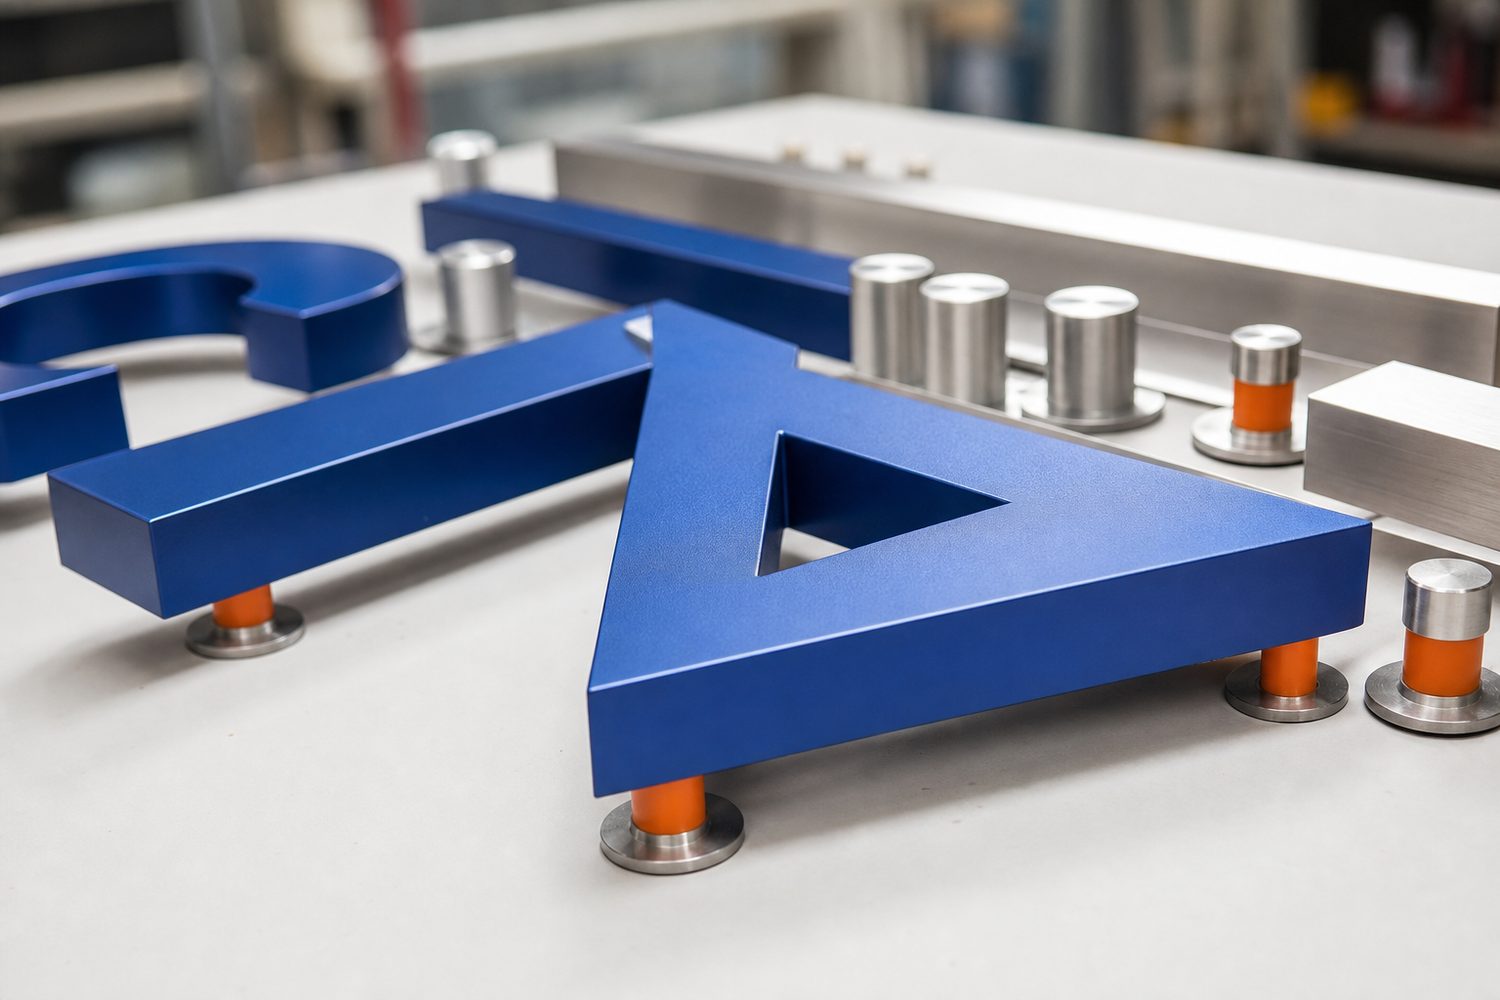
“Dimensional letter” can mean flat-cut metal or acrylic, fabricated metal with returns, formed plastic, cast metal, routed board, painted wood or an illuminated channel letter. Record material, thickness, depth, face, return, back, finish and mounting method. These variables control edge appearance, shadow, durability and service.
Design the side view
Most elevations show only the face, but people often approach obliquely. Return depth, seams, backs, stand-offs, raceways and wall color become visible. Draw key angles and a cross section. A dark return can make a light face appear thinner; a reflective metal edge may create highlights that change through the day.
Coordinate stroke and fabrication
Very narrow strokes, tight counters and sharp internal corners can be difficult to route, form, weld, illuminate or clean. Fabrication limits depend on material and process. Review the actual artwork at full size with the fabricator, and preserve spacing when adding mounting pads or electrical components.
Resolve seams and drainage
Fabricated letters can include face-to-return or return-to-back seams. Ask how seams are joined, finished and oriented. Exterior cavities should avoid collecting water and may require weep paths. Drainage openings must not compromise insect control, appearance or electrical listing; the correct detail is system-specific.
Choose direct mount or raceway deliberately
Direct mounting can reduce visible support but increases penetrations and layout demands. A raceway can consolidate structure and wiring but adds a visible object and may affect drainage. Compare wall construction, electrical access, landlord requirements, service strategy and desired shadow before choosing.
Mock up illumination
Front-lit, halo-lit and combined effects behave differently with depth, wall reflectance, stand-off and ambient light. LED point spacing and diffusion affect hot spots. Review a representative letter or section in low and high ambient conditions. Photographs can overstate brightness, so observe the physical sample where possible.
Prepare replacement data
Archive vector artwork, dimensions, patterns, colors, material callouts, power-supply information and photographs. Identify whether individual letters can be removed without opening adjacent work. Keep an approved sample when long-term matching matters, while recognizing that installed finishes age.
Check the wall after removal
Future removal may reveal holes, shadowing, sealant, raceway outlines or uneven fading. If a tenancy is temporary, include restoration implications in the decision. A mounting strategy is also an end-of-life strategy.
Professional boundaries
Illuminated letters may require listed systems, electrical permits and qualified electricians. Large exterior letters require attachment and wind review. Obtain project-specific advice rather than applying this overview as a fabrication specification.